How To Clean Any Pool Filter
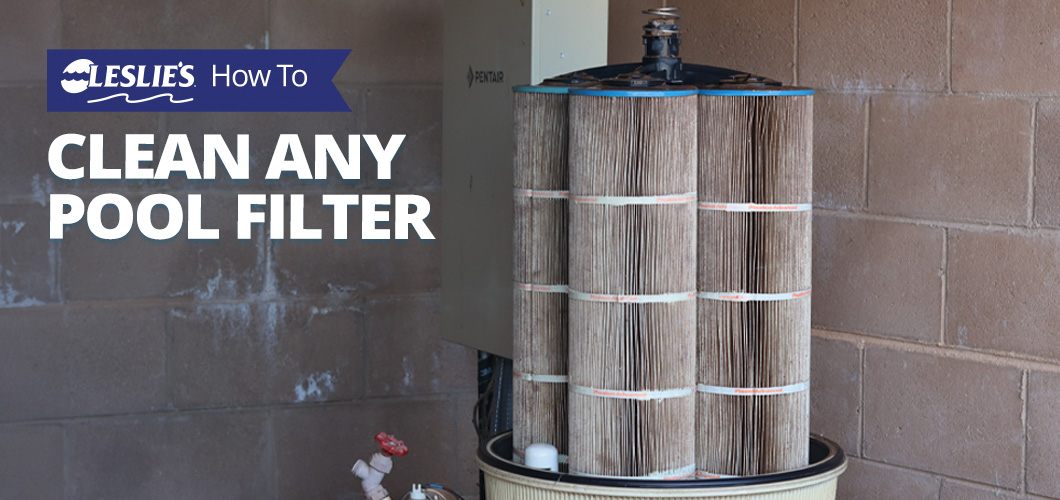
Has your pool water turned cloudy, or are you worried it’s about to? Then it’s time to clean out that pool filter! Though the job may seem daunting at first, with care and attention, your pool filter can last for years; all it requires is a few minutes every few weeks and a little bit of know-how.
Three of a Kind
There are three types of pool filters commonly in use, and it’s important to know which kind your pool is using; cleaning these three different filters can be markedly different. The three types of filters are:


Sand Filters
- The most affordable style.
- Your pump pushes pool water through a tank approximately half-full of silica sand, which traps the particles and debris before passing the clean water back into your pool.
- Sand filters are easy to maintain and long-lasting.
- The primary drawback of sand filters is their effectiveness because they aren’t capable of trapping the smallest particles without the assistance of a filter aid.
Cartridge Filters
- Effective and easy to maintain, cartridge filters are mid-tier pool filters.
- Cartridge filters use a cylindrical fan-folded polyester cartridge as the filtering medium. Water flows through the fabric and traps debris.
- Cartridge filters are considered “green” filters because they can’t be backwashed and, as a result, use less water when being cleaned.
- These filters can trap smaller particles.
Diatomaceous Earth (D.E.) Filters
- Although the most expensive, D.E. filters are also the most effective, able to screen out all but the most microscopic particles.
- D.E. filters clean your water by passing it through a fine, white powder that’s actually made from the fossils of diatoms, a single-celled aquatic plant.
- Just like a sand filter, D.E. filters can be backwashed.
DIY TIP: For any work on your pool filter, always wear recommended/required safety equipment, and always follow the manufacturer’s recommendations for cleaning, maintenance, and proper operation. Never move the backwash valve handle while the pump is operating, and — since the tank is pressurized — never open the tank without opening the air relief valve and making sure the pump is off.
Cleaning a Sand Filter
Needed supplies
- Backwash hose
- Sand filter cleaner (Leslie’s Sand Filter Revitalizer)
- Owner’s manual
How to clean a sand filter
Cleaning a sand pool filter is relatively easy. You can backwash it, which you should do whenever it reaches 8-10 PSI over the normal operating level. Or you’ll need to do it when the pool water gets cloudy.
At least twice a year, you should chemically clean your sand
filter — with a cleaner that works — while backwashing the filter. Here’s how:
- Start backwashing the filter to remove dirt and debris.
- Slowly add the sand filter cleaner into the skimmer.
- Backwash the filter for 3 to 5 minutes again to remove dirt and debris that has been dislodged by the filter cleaner.
- When complete, turn off the filter pump. Move the backwash valve handle to the “Filter” position and turn the filter pump back on.
- If you experience water-quality issues after chemically cleaning your filter or backwashing doesn’t lower the psi because it may be time to change the sand.
See? Quick and easy! With sand filters, you can spend less time cleaning and more time enjoying your pool.
DIY TIP: If you’d prefer to do a deeper cleaning, add a sand filter cleaner, such as Sand Filter Revitalizer. Follow the directions on the label and make sure the water level in the pool is correct prior to backwashing.
Cleaning a Cartridge Filter
Needed supplies
- Garden hose
- Spray nozzle
- Wrench set (or equivalent)
- Filter cleaner
- Large bucket (if needed)
- Non-petroleum-based lubricant
- Replacement O-ring (if needed)
- Replacement filter cartridges (if needed)
- Rubber mallet (for multi-element filters)
- Owner’s manual
How to clean a cartridge filter
A cartridge filter is also easy to clean; you just pull out the cartridges, clean them, and replace them. But there are a few steps to follow to make sure it’s done right.
- Turn off your pool pump at the breaker.
- When the pump is off, remove air from the system by slowly opening the air-relief valve (usually located on top of the filter) to remove any excess air from the system.
- Remove the clamp or assembly holding the filter together. Your owner’s manual might come in handy here.
- Remove the top of the filter.
- Slowly and carefully remove the cartridges and set them aside. Inspect everything for damage and wear. If you find any cracks or tears, or if a cartridge is mushy, it’s time to replace the cartridge because it is no longer effective.
- Clean the cartridge using a spray nozzle on your garden hose. To do so, spray at an angle to get between the pleats. Never use a pressure washer; it will damage the cartridges.
- If the cartridge is really dirty, use a filter cleaner. Follow the manufacturer’s instructions.
- If the cartridge is really, really dirty, soak it in filter cleaner overnight. To do so, use a five-gallon bucket or clean plastic trash can, and make sure the cartridges are completely submerged in the water and cleaner mixture.
- Return the cartridges to the filter and secure them in place.
- Replace the filter top and tighten the clamp or assembly.
- Next, check the O-ring on the filter tank. If it’s in good shape, lightly apply some lubricant to keep it that way. If it’s dry-rotted, deformed, stretched, or appears worn out, replace it. Because wear and tear are common, it’s always a good idea to replace the tank O-ring at each cleaning.
- With the air relief valve open to release air from the filter tank, turn the system back on. Keep the valve open until a steady stream of water sprays from it, then close.
- Check the system pressure to ensure it’s in normal range. If the pounds per square inch (PSI) is off, you may have put the filter back together incorrectly, or something else may be wrong with the system. Troubleshoot the pool filter to identify and correct the problem.
DIY TIP: You should clean your cartridge filters when the filter pressure gauge reading goes up 8-10 PSI above the clean starting pressure, or every 3-6 months, depending upon the manufacturer’s recommendations. Cartridges can last 3-4 years before needing to be replaced, based upon pool usage, water chemistry, and maintenance practices.
Manually Cleaning a D.E. Filter
Needed supplies
- Backwash hose
- Garden hose
- Diatomaceous earth (D.E.) filter cleaner
- Lubricant
- 5-gallon bucket
- Large, plastic spoon for mixing D.E.
- D.E. powder
- D.E. Filter Cleaner
- Safety goggles
- Dust mask
- Acid-resistant gloves
- Owner’s manual
How to clean a D.E. filter
Diatomaceous earth filters should be manually cleaned at least
twice a year. The quickest, easiest method is to use D.E. filter cleaner.
Here’s how to get started:
- Backwash the filter for 3 to 5 minutes to remove dirt, debris and the old DE.
- Turn the pump off and place the backwash valve back in “Filter” mode.
- Open the air relief valve.
- Remove the drain plug, and let the water drain out of the filter tank.
- Remove the clamp or assembly holding the filter together. If you’re unsure how to open it, check the owner’s manual.
- Open the filter tank by removing the top half.
- Rinse out the tank with the garden hose and reinstall the drain plug.
- Clean the manifold and grids.
- Use a spray nozzle on your garden hose to spray down the manifold, and make sure to thoroughly flush the grids of all debris and used D.E.
- If the grids are really dirty, use a D.E. filter cleaner. Follow the manufacturer’s instructions and wear safety equipment.
- Inspect the grids for tears or damage, and check the manifold for cracks.
- Place the clean grids back into the filter tank, line up and install the manifold, and tighten the nuts. Do not overtighten. If there is a standpipe O-ring, replace it.
- Lubricate the filter tank O-ring inside the tank and reinstall the top half of filter tank.
- Add D.E. powder to the filter.
- Refer to your filter owner’s manual to determine how much D.E. powder you’ll need to add.
- First, in a clean bucket, mix the appropriate amount of D.E powder with enough water to make slurry, which is a thin, creamy solution with the consistency of milk. Use the large plastic spoon to mix.
- Prime the filter pump by removing the strainer housing lid and filling the strainer housing with water; allow some water to run through the incoming line. As a result of use, you may need to lubricate the pump lid O-ring. Close the lid.
- Open the filter air-relief valve to release excess air from the filter tank.
- Turn on the pump and let it run for 1-2 minutes to make sure you have full circulation.
- Close the air-relief valve when water starts coming out.
- While the pump is running, slowly pour the slurry directly into the pool skimmer.
- Run the pool pump for at least 30 minutes to allow the D.E. to distribute evenly over the filter grids. Check for any D.E. returning to the pool from the return line, and if you see any you may have a torn grid, cracked manifold, or torn stem O-ring.
DIY TIP: Some cities have banned disposing of diatomaceous earth (D.E.) into the sanitary sewer system. Contact your local water department for guidance.
And there you have it! Follow the steps for your respective filter
type to keep both your filter and your pool clean and clear.
Be sure to keep all necessary supplies on hand so you’re always ready to clean your sand, cartridge, or diatomaceous earth filter as soon as you notice it’s not working properly.
It’s important for us to acknowledge that certain aspects of pool care are subjective, based on personal preference. There are many variations of successful approaches, but we have devoted decades to honing our products and solutions. If you have any questions, or if you think it might be time to replace your pool filter or filter media, stop by your nearest Leslie’s store. We're here to help!